You're on the free part — the other 3 parts and the live feed come with full access.
0 of 8 steps done
Part 1 is all about getting ready: your materials, the stitch key, a gauge swatch and choosing your size. The crochet starts with Part 2, the back piece, on Monday, October 5.
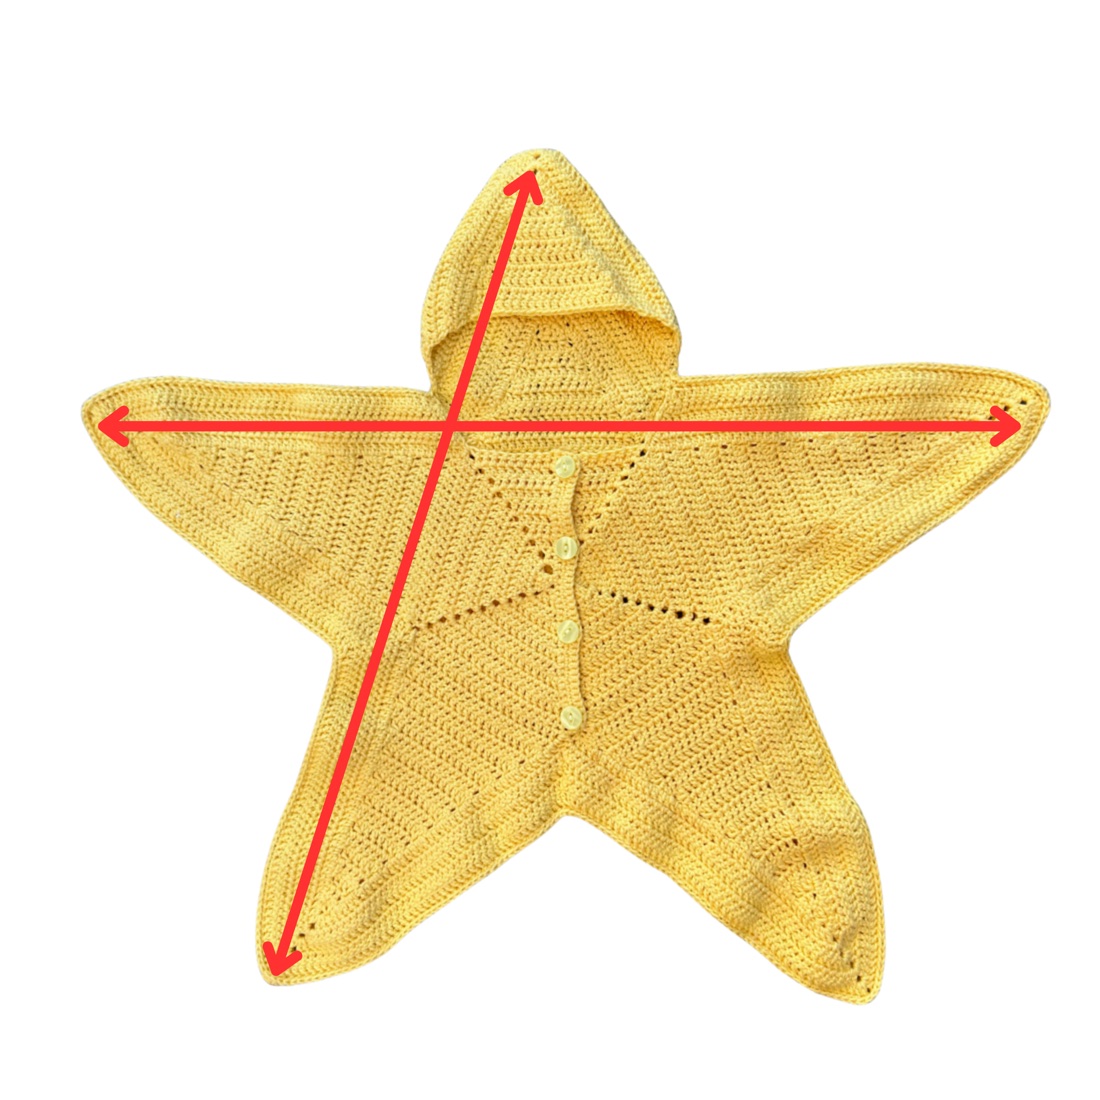
A note on colour: the original pattern was designed in yellow, so all the photos and videos feature the yellow version. You'll simply make yours in black (or your colour of choice) and add the appliqués afterwards. Yellow is also much easier to see on camera, which is why Rachael kept it for the tutorial.
"I hope you love this special edition Starsuit I made exclusively for HoneyBee! If you have any questions, just let me know. Now let's have some fun with it!" — Rachael
Difficulty: Intermediate
All terms are US. *…* means repeat everything in between the asterisks, and the number in [brackets] is the stitch count, including chains.
Yarn by size:
Tension and yarn can make a huge difference to sizing. After making your swatch, check it matches these dimensions. If not, change your hook size or alter the pattern slightly.
The pattern comes in newborn, 0–3 months and 3–6 months. Babies vary widely in size, so it's designed to be adjustable as your baby grows.
Where the pattern gives three numbers (like 7/8/9), they're for newborn / 0–3 months / 3–6 months.
Rachael designed this pattern to grow with your baby from newborn to 6 months. She doesn't recommend going beyond 6 months, as the chest gap becomes too wide.
If you'd like to extend it past 6 months from the start:
For this option you'll need to work out your own stitch count. Just make sure the front and back match and you'll be fine. There's more on resizing at the end of the pattern.
Part 2: The back piece
Included with full access
Part 3: Front pieces & hood
Unlocks Monday, October 12 · 9am PT
Part 4: Spiderweb, spider & finishing
Unlocks Monday, October 19 · 9am PT
The live community feed
Ask Rachael questions as you make, share your progress, and stitch alongside the hive — this room is where projects actually get finished.
Get full access